
Last updated November 16, 2026
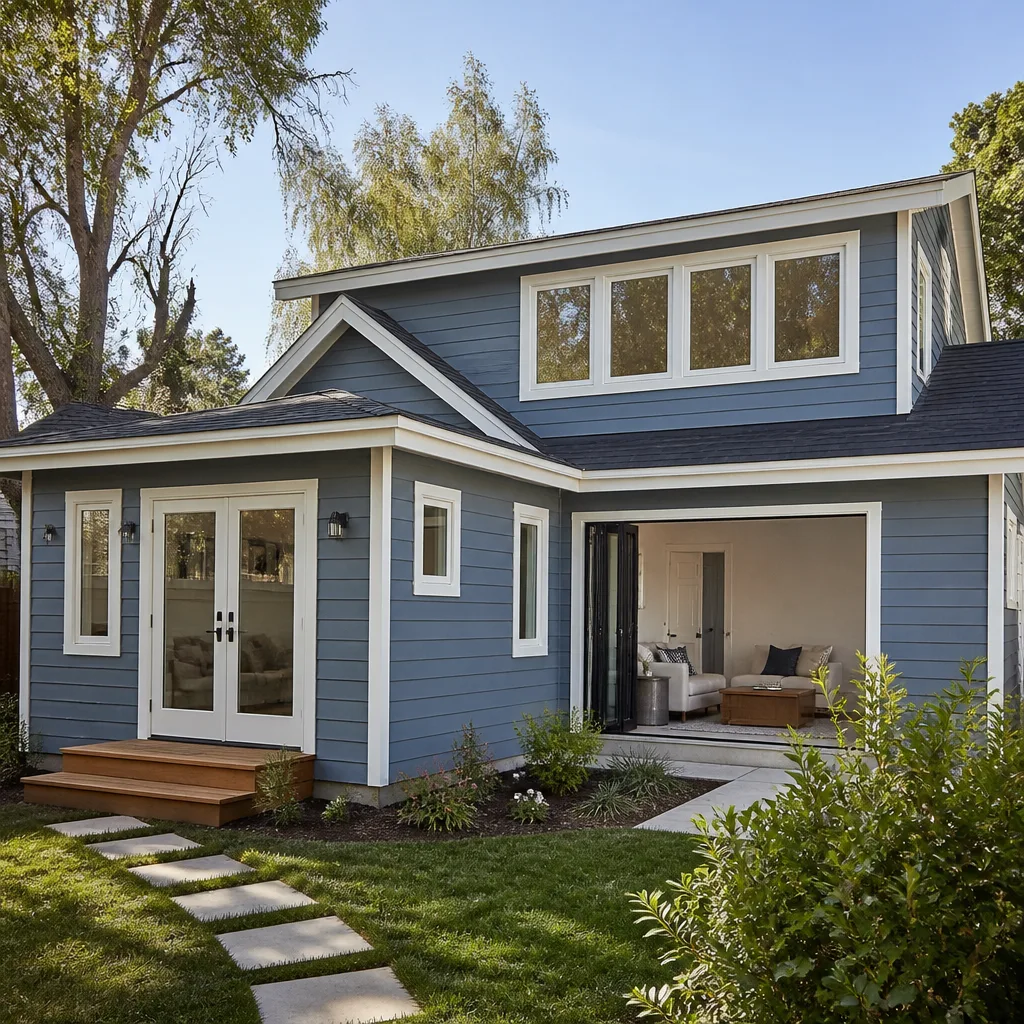 Home additions & ADU
 Kitchen remodeling
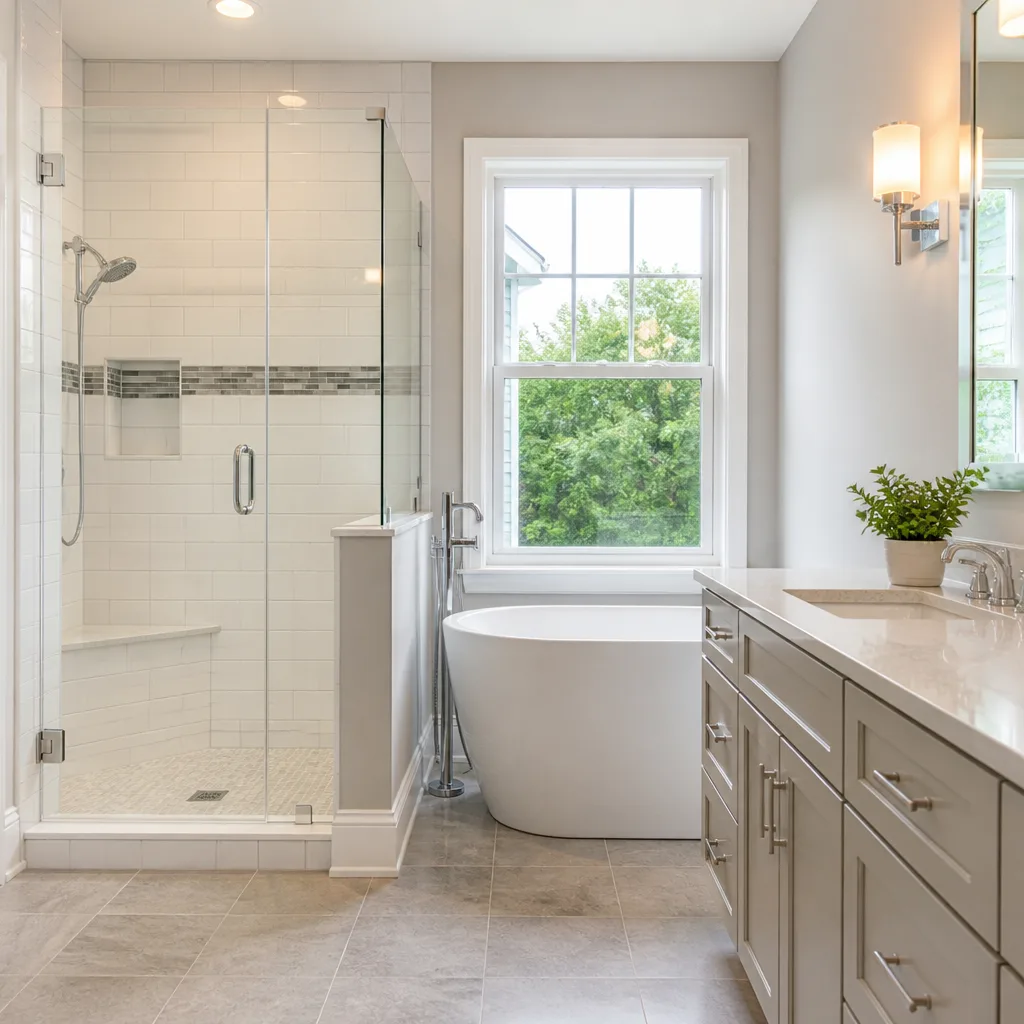 Bathroom remodeling
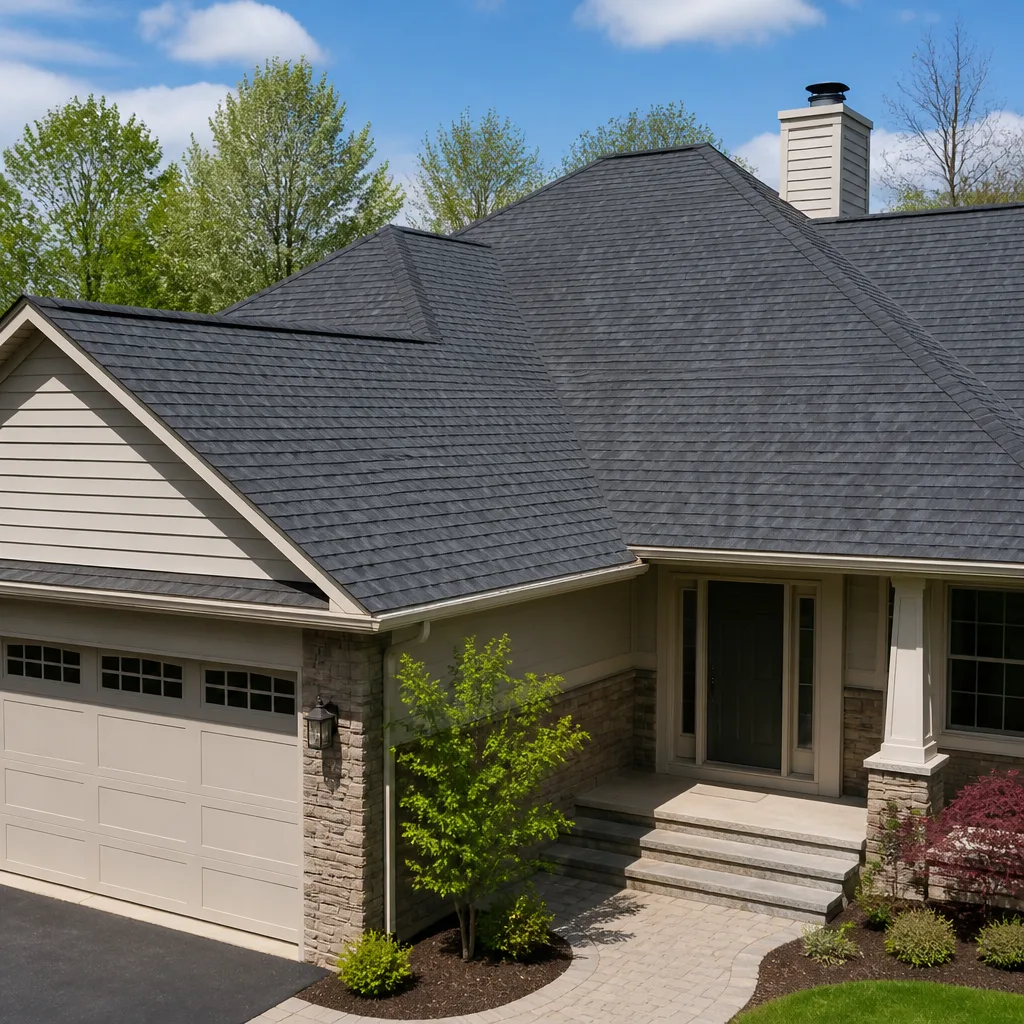 Roofing
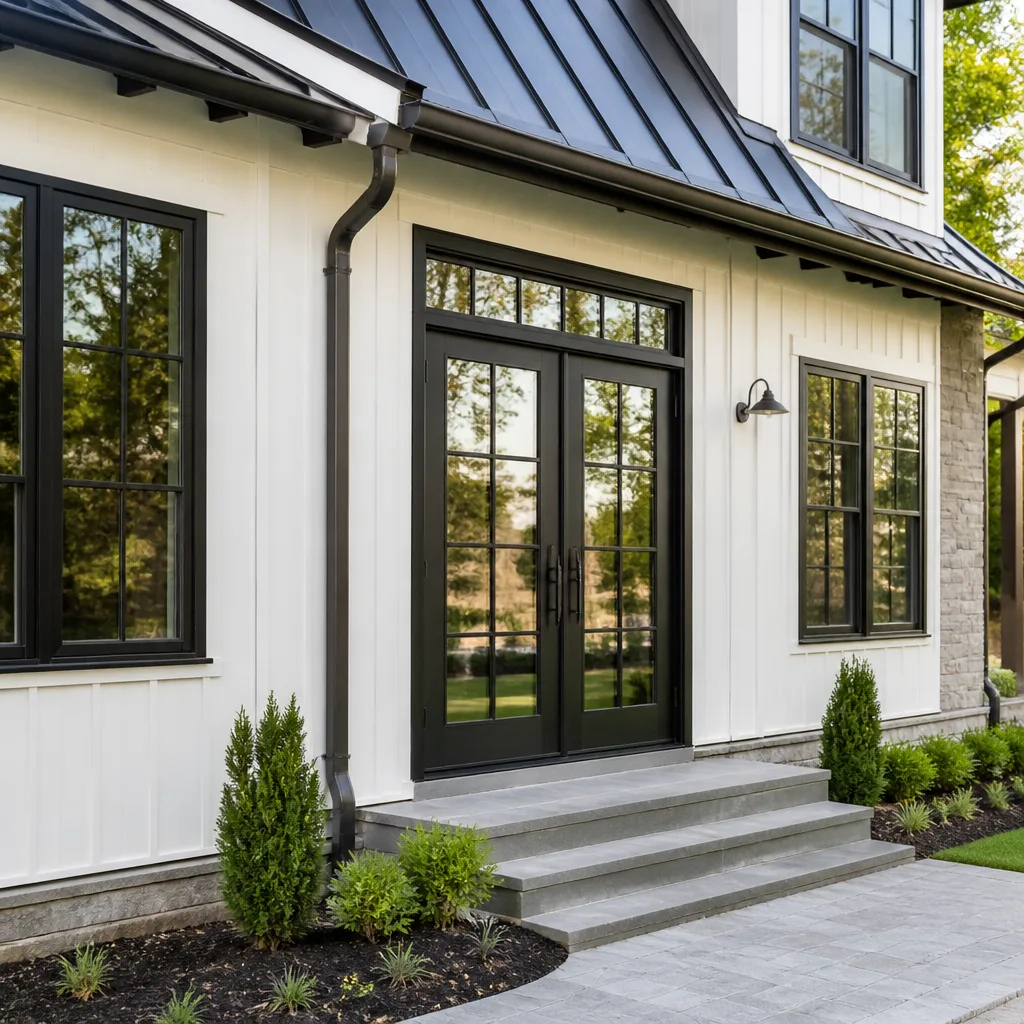 Windows & doors
 Driveway & pavers
 Fence
Free written scope consultation - allowances, timeline, and change-order rules on paper before a single trade is scheduled
Construction Emergency Preparedness Guide for Miami Beach Homes
Most homeowners treat construction and storm prep as two separate chores. They are not. The paperwork that proves how your house is built and the physical work that keeps it standing are the same job, and Miami Beach rewards the homeowners who understand that. After a named storm, the first thing an adjuster asks for is often the last thing anyone thought to file: current elevation certificates, as-built drawings, permit history, and product approval records for your roof and windows. This guide walks through both halves of the system. You’ll learn the documentation package to keep, the hardening tasks that matter here, how to triage damage afterward, and how to spot real contractors from storm-chasers.
Quick Answer
Emergency construction preparedness for a Miami Beach home means maintaining a current documentation package (elevation certificate, as-built drawings, permit history, product approvals) alongside physical storm hardening (impact shutters, roof and garage door checks, exterior drain clearing) so that repairs can begin and insurance claims can close quickly after a storm. The paperwork is not optional. Without it, a claim can stall for months.
Styles & brands we work with
- Kitchen remodeling
- Bathroom remodeling
- Home additions & ADU
- Roofing
- Windows & doors
- Driveway & pavers
- Fence
Table of Contents
- The Documentation Package Every Miami Beach Home Should Keep
- Pre-Storm Construction Hardening Tasks
- How to Triage Post-Storm Damage
- Spotting Storm-Chasers and Reading Emergency Contracts
- Why Emergency Tarping Requires a Licensed Contractor
- Generators and Temporary Utility Connections
- Planning the Rebuild: Materials That Perform Here
- A Yearly Preparedness Calendar
The Documentation Package Every Miami Beach Home Should Keep
Start with the paperwork. This is the piece almost everyone skips, and it is the piece that decides how fast a claim closes. An elevation certificate tells an adjuster exactly how high the lowest floor sits relative to base flood elevation. Without a current one, a flood-related structural claim can sit in limbo while an assessor re-derives numbers your file should have contained. Miami Beach homes built or substantially improved after 1970s-era floodplain rules tend to have one on record, but many homeowners have never seen their copy.
The full package:
- Elevation certificate – the most commonly missing document, and the one adjusters ask for first.
- As-built drawings – the ones that show what was actually constructed, not just what was permitted.
- Permit history – every permit pulled on the property, with final inspection sign-offs. Your city building department can produce this, but you want it before you need it.
- Product approval records – the Florida product approval numbers for your roof covering, windows, and doors. Roofing and glazing systems are approved as assemblies; if an adjuster can’t match the installed product to an approval, that portion of the claim gets negotiated down.
- Wind mitigation inspection report – it documents the specific construction features insurers credit, and it needs to reflect your current roof and openings.
- Photographs and a room-by-room inventory – dated, stored off-site.
Storage matters as much as the contents. Keep a digital copy in cloud storage, a physical copy in a watertight box, and a second physical copy somewhere outside the flood zone entirely. A folder in a desk drawer is not a plan. If you’ve added square footage, replaced a roof, or changed your windows, the package is stale until it’s updated. Any structural work, any addition, any new roof is the moment to refresh it. If you’re planning that kind of work, our construction Miami Beach team can walk you through what documentation a project generates and how to file it.
Pre-Storm Construction Hardening Tasks
Hardening is the physical half of the system, and it starts well before a watch is issued. Do the inspection work early in the season, while contractors are available and materials aren’t being rationed. The goal is to find the weaknesses when you have choices about when and how to fix them.
- Deploy and test your shutter system. Impact shutters and panels that have sat in a garage since the last storm tend to reveal stripped fasteners, missing tracks, or seized hardware at the worst moment. Run a full deployment on every opening before the season starts, then again if anything was moved.
- Inspect roof penetrations. Vent stacks, skylights, and any roof-mounted hardware are where water gets in. Look for lifted flashing and dried sealant from above and staining on the ceiling below. Small repairs now cost a fraction of a tarped-and-insured mess later.
- Check the garage door. Garage doors are the largest opening on most homes and a common failure point under wind load. Verify the door is rated for the pressure it will see, and confirm the bracing and anchors match the manufacturer’s instructions. If the door’s rating isn’t documented, that’s a project, not a weekend check.
- Clear exterior drains, gutters, and swales. Standing water against a wall is a bigger problem than most people realize. Clear debris from gutters, downspouts, and any yard drainage, and make sure nothing is stacked against the exterior walls.
- Secure loose exterior items. Fencing, screen enclosures, and anything anchored loosely becomes projectile load. Our fence installation work always starts with a conversation about how the posts are anchored, because a fence that survives a storm is an anchored fence.
- Photograph everything. After the work, before the storm. Dated photos of finished conditions are far more persuasive than memory.
How to Triage Post-Storm Damage
After the storm passes, the instinct is to call someone immediately. Resist it for ten minutes and triage first. Calling the right contractor with a clear description of the problem gets you faster action than calling six and describing it vaguely. Sort the damage into three categories.
- Emergency – stop the water, secure the structure. Active water intrusion, a compromised roof, broken windows, or a structural element that’s lost integrity. These need licensed help now, tarping and boarding, and a documented record of what was done and when.
- Urgent but rain-delayable. Missing shingles or fascia, damaged soffit, a dented but intact door or window. These get scheduled, and they get scheduled before the backlog builds. Book the inspection in the first few days.
- Cosmetic or non-structural. Paint, landscaping, fencing, driveway surface damage. Handle these last. They still need documenting for the claim, but they don’t hold a priority slot.
The routine after any event that affects your roof or windows: photograph everything before touching it, notify your insurer, and get a written, itemized scope of repair from a licensed contractor. In our experience, the difference between a claim that closes in weeks and one that drags is almost always the quality of the documentation, not the size of the damage. That is why the paperwork package in the first section matters so much. A photo with no date, no elevation reference, and no permit history is a story; a photo sitting inside a complete file is evidence. If you suspect structural issues rather than surface damage, get them looked at by a professional before you or anyone else goes poking at framing. And if the damage points toward a bigger build later, our guide to home additions & ADU covers how additions are planned here, including how elevated construction and documentation affect the design.
Spotting Storm-Chasers and Reading Emergency Contracts
The post-storm window is when out-of-area crews arrive with clipboards and charm. Most are not crooks, but the ones who are tend to work the same way. A storm-chaser will knock, quote without inspecting, want a large cash deposit, and pressure you to sign on the spot before “your slot is gone.” A real contractor will inspect, put a written scope in your hands, and give you a day to read it.
What a legitimate emergency repair contract should include:
- Company name, license information as required in your state, and a physical address or verifiable local presence.
- An itemized written scope with materials named, not “to be determined.”
- Start date and a realistic schedule, plus a written description of what’s not covered.
- Clear terms on deposit, progress payments, and retainage.
- Proof of insurance and workers’ compensation for the crew on your property.
- A written warranty on the work, with terms you can actually read.
Read the contract once for what it says and once for what it doesn’t. A scope that leaves materials unspecified is a scope that lets the contractor substitute whatever is cheap. Unspecified repairs can turn into an add-on invoice. The homeowner’s defense is a line-item scope with a fixed price and a change-order process for anything added later. Ask which manufacturer brands are being proposed for the roof or exterior work, and ask why. A contractor with real supplier relationships can show you options at different price points and explain the trade-offs instead of handing you one number. If you’re unsure about a company’s claims, ask them to walk you through a typical file from permit to final inspection. Our driveway & pavers projects follow exactly that path, and any honest contractor should be happy to show theirs.
Why Emergency Tarping Requires a Licensed Contractor
Emergency repair is permitted work in every real sense of the word. In Florida, a homeowner or a handyman can drape a tarp over a leak, but when that tarp is part of an insurance claim for a home, the work is often required to be performed by a licensed contractor for the claim to be accepted cleanly. More critically, a repair done by an unlicensed party can become an exclusion at the moment you need it most. A policyholder who hired an unlicensed crew to make a “temporary” structural repair has a problem. The insurer can deny or reduce the claim on the grounds that the work wasn’t performed to code.
This is why we recommend a simple rule: for any work that touches the structure, the roof, or the electrical system, the person doing it should be licensed and insured, and their invoice should be in writing. A licensed contractor’s documentation is what turns a quick repair into a claim that holds.
The permitting side can speed things up rather than slow them down. Local building departments typically offer expedited review for emergency repairs after a declared disaster, meaning a properly filed permit can be processed in days rather than weeks. That fast track rewards homeowners whose documentation was ready. It punishes everyone else. The lesson: pull permits, keep the inspection records, and never let a “don’t bother with the permit” contractor touch your house after a storm. If you’re considering a full replacement rather than a repair, we can help you understand the roofing material options and approvals that matter here. That is the point of the whole file you’ve been keeping.
Generators and Temporary Utility Connections
Generators are where well-intentioned homeowners get hurt and uninsured. A portable generator running in a garage or a carport creates carbon monoxide risk and a fire risk that no one asks for after a storm. Run portable units outdoors, away from openings, and never in an enclosed space. This is not a detail to get approximately right.
Beyond placement, the bigger issue is connection. Plugging a portable generator into a home’s wiring through a homemade cord is a hazard for you and for any utility crew working on the line, and it can void your coverage if a fire starts. A proper connection is a transfer switch, and a transfer switch is permitted electrical work. That means a licensed electrician, a permit, and an inspection. Standby generators that run on natural gas or propane are full installations with their own permitting, clearance, and code requirements, and they should be planned by a licensed electrician from the start, not improvised mid-storm.
For temporary repairs that involve nailing into walls or flashing, treat the same caution as electrical work. Nails into unknown pockets of a wall can hit wiring or plumbing, and a tarp that isn’t anchored correctly tears loose and becomes a hazard. Temporary does not mean unskilled. If the work involves heights, structure, or power, a trained professional should do it, and you should confirm the work is documented.
Planning the Rebuild: Materials That Perform Here
Once the dust settles, the rebuild is where a homeowner can actually improve their position. Instead of replacing what failed with the same thing, use the moment to upgrade the assemblies that matter. This is the part where choices carry weight for the next decade of storms and insurance renewals.
On roofing, you want a system from a manufacturer with a documented approval for every component, not just a shingle mixed with whatever was on hand. GAF, Owens Corning, CertainTeed, IKO, Atlas, and Tamko are the names we spec most often, and each offers a materially different warranty and wind rating. On windows and doors, impact-rated glazing from PGT, CGI, or ECO Window Systems gives real performance, and that performance is documented, which matters for your wind mitigation report. On the outside hardscape – and don’t underestimate how much storm water routing depends on hardscape and grading – a well-designed paver system with proper base and drainage is a different animal from a driveway poured with no plan. That’s true for the front of the house and the surfaces behind it. When you’re thinking about rebuild or hardening, get a written scope that names the products. From the driveway to the ridge cap, the brands you choose are the brands that perform.
If you’re adding living space as part of the rebuild, look at prefab and modular options alongside traditional construction. Systems from Abodu, Dvele, Mighty Buildings, Boxabl, and Plant Prefab can shorten schedules while giving you design-forward results. A concrete answer on how these integrate with your lot and documentation is worth more than a brochure.
A Yearly Preparedness Calendar
The work only feels overwhelming when you try to do it all at once. Spread it across the year and it becomes a maintenance rhythm rather than a scramble.
- Early in the year: Review the documentation package. Update the elevation certificate if structural work has happened. Refresh photos.
- Before the season: Deploy every shutter, inspect the roof, test the garage door, and clear drains.
- Mid-year: Check the wind mitigation report against your current roof and openings. Book any window or roof replacement so it’s finished before peak season.
- Each time a storm is forecast: Photo the property, secure exterior items, confirm the generator setup and its fuel, and check that your contacts list includes your insurer, a licensed contractor, and your building department.
- After each storm: Triage, document, notify, and book the inspection. Do not let a small leak become a structural repair.
Write it down. A checklist on the refrigerator beats a great plan you can’t remember in the middle of a watch.
Common Mistakes to Avoid
- Skipping the elevation certificate because “the bank already has it.” The bank’s copy is not your working copy. Pull a current one, verify it matches your home’s current configuration, and store it where you can find it on day one.
- Wrapping the whole house in plastic and calling it a repair. A tarp that traps moisture or fails to anchor can cause more damage than the leak. Emergency tarping should be done by someone who knows how the water sheds and what the flashing needs.
- Hiring on the strength of a knock at the door. Storm-chasers are most active in the first week after a storm, when the pressure is highest. Ask for the written scope and a day to read it. Real contractors can wait a day; storm-chasers usually won’t.
- Letting a contractor pull the permit in someone else’s name. The permit record should name the contractor actually doing the work. If it doesn’t, you’re building a liability into your file.
- Replacing a failed roof with the cheapest option on the shelf. A roof is a multi-decade decision and a documented assembly. The product approval record is what protects your insurance position for the life of the roof.
- Running a generator indoors or wiring it in with a homemade cord. Both are fire and carbon monoxide hazards, and both can void coverage.
- Forgetting to photograph the “before” condition of exterior work. The fastest way to lose a claim argument is to have no credible record of what was there before the work.
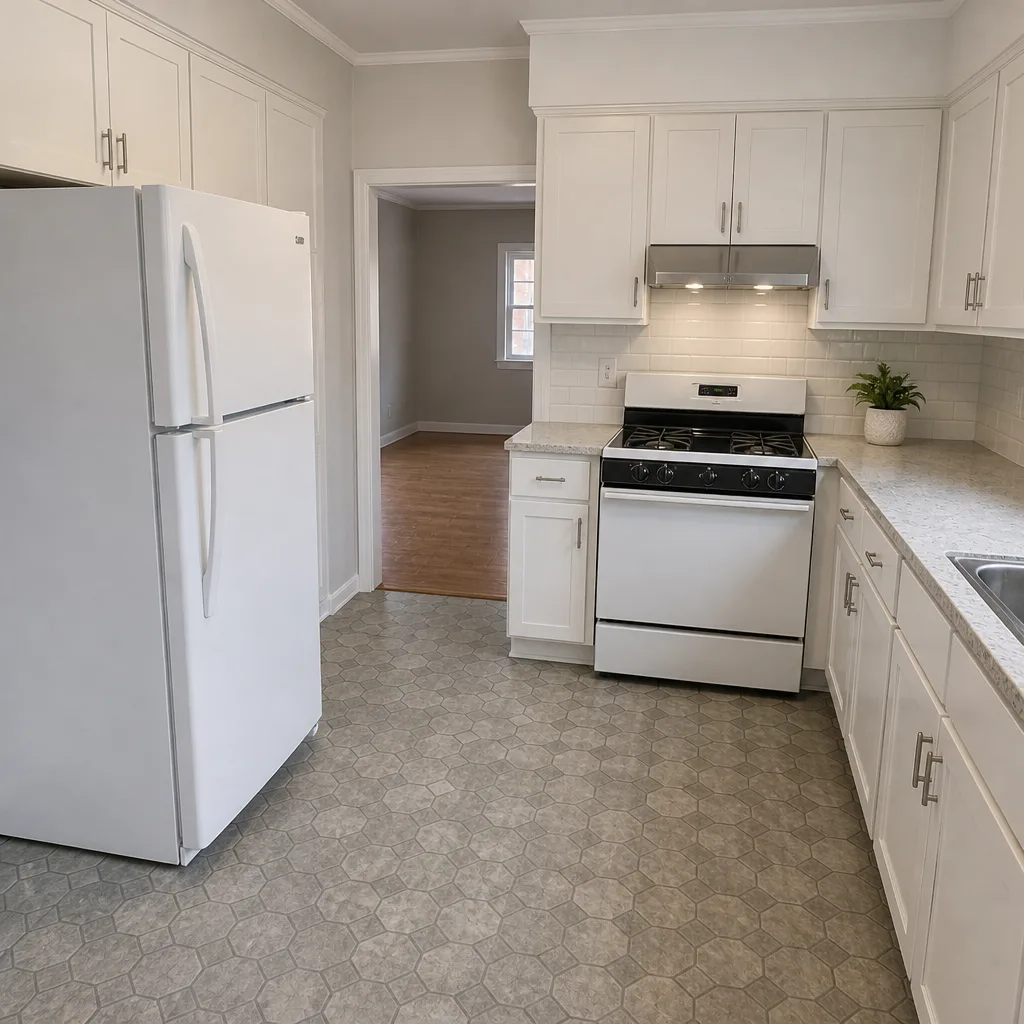
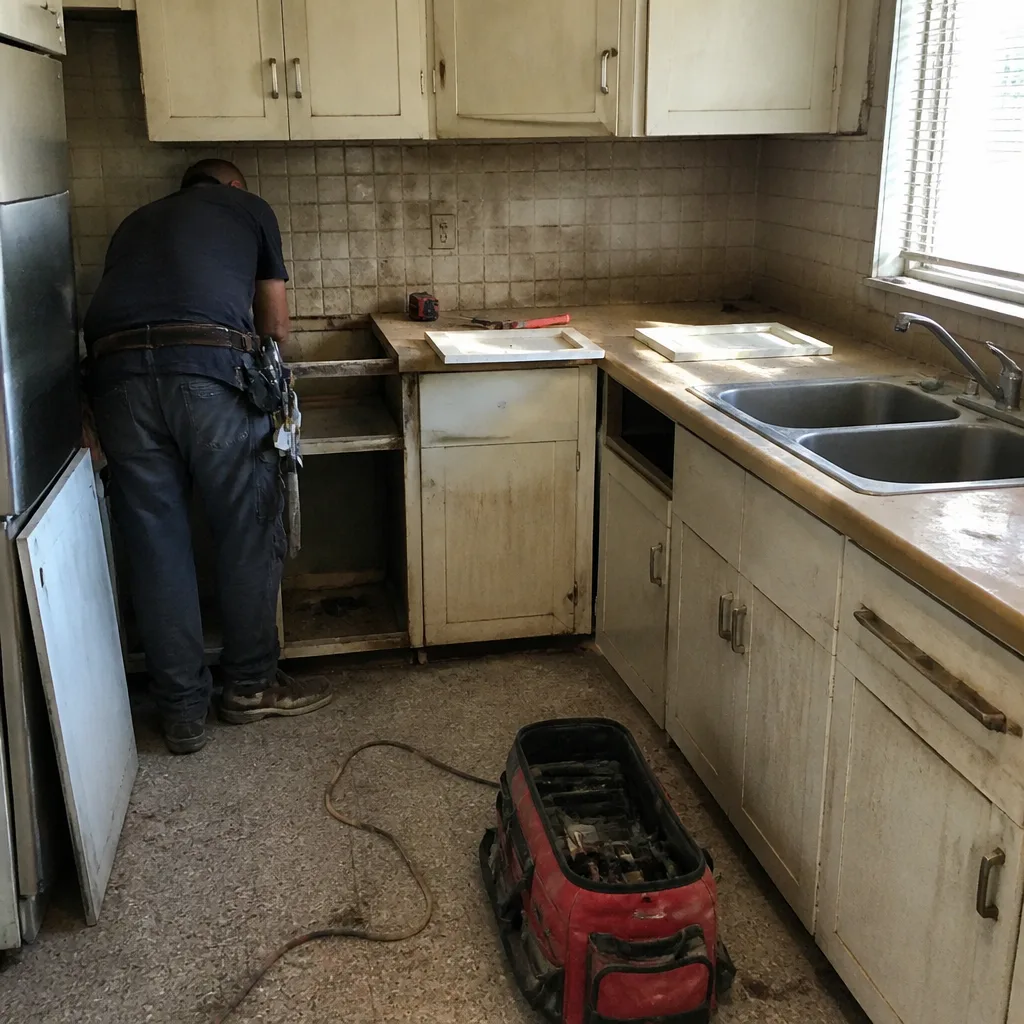
See the difference
 Before
 After
 Before
 After
 Before
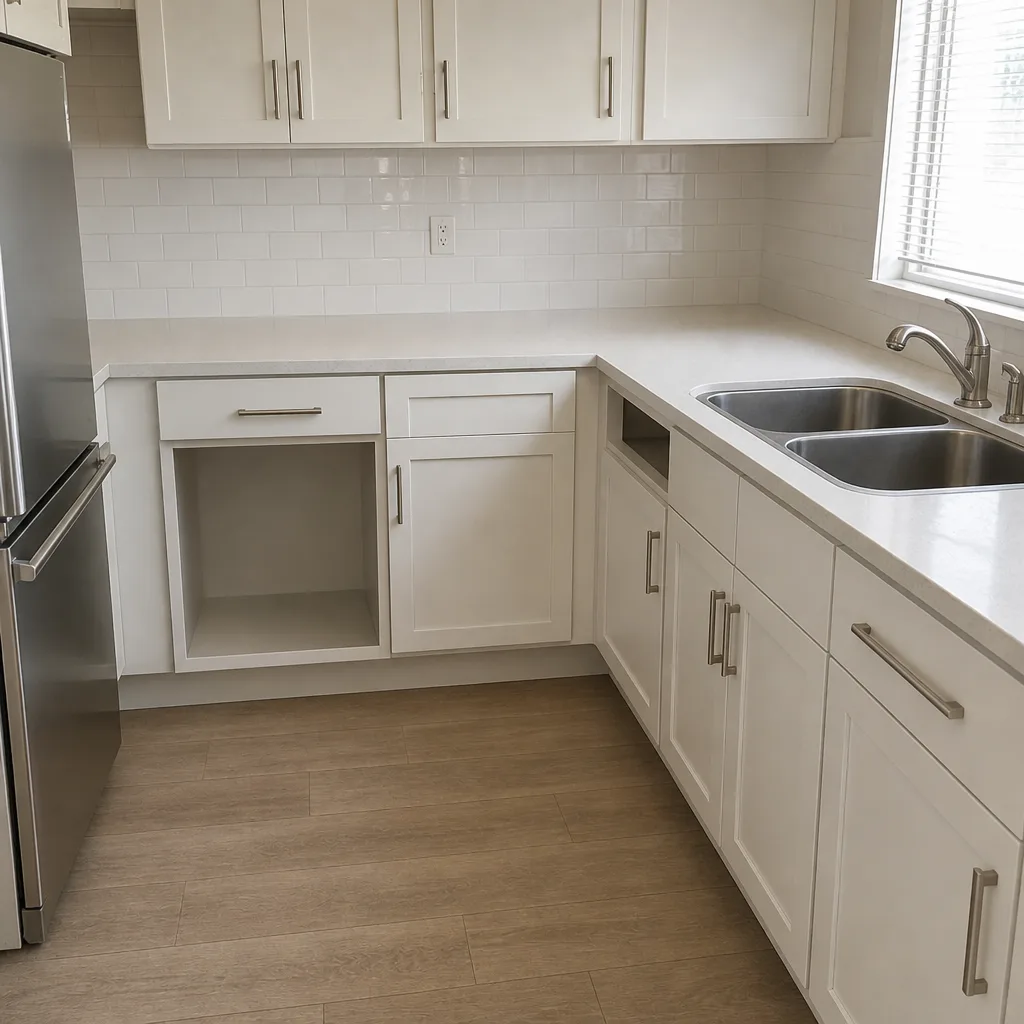 After
When to Call a Professional
Call a professional for anything that touches the structure, the roof, the electrical system, or the building’s envelope, and call before the damage gets worse. Specific cases: water actively entering the house, a roof that’s lost shingles or fasteners, a garage door that no longer closes square, a window that’s cracked or no longer seals, structural framing you suspect is compromised, any electrical connection involving a generator, and any permitted replacement work. Also call if you’re not sure whether something is serious. A short inspection is cheap compared to a missed structural issue. Construction Miami Beach offers free estimates in Miami Beach. Call (844) 320-9310 to schedule yours. Our technicians have up to 14 years of experience, and we can show you the options and the trade-offs.
Frequently Asked Questions
At minimum: a current elevation certificate, as-built drawings, permit history, product approval records for the roof and openings, a wind mitigation report, dated photographs, and a room-by-room inventory. Store a waterproof physical copy on-site and a digital copy off-site. The elevation certificate is the one most often missing and the one adjusters ask for first.
You can for very minor, non-structural protection, but for anything involving heights, damaged flashing, or a compromised deck, use a licensed contractor. Improper tarping can trap moisture and void a claim. Call (844) 320-9310 for a free estimate on the repair. We answer 24/7. Fast dispatch from 7am to 7pm, Sunday through Friday.
No. We price work per job, and the written estimate sets the price. There’s no emergency premium, no trip charge, and no after-hours surcharge in the estimate. The estimate is free. Call (844) 320-9310 for an exact quote.
No. Generator connections, transfer switches, and standby installations are permitted electrical work that must be done by a licensed electrician and inspected. A homemade connection is a fire hazard and a line-worker hazard, and it can void your insurance. Call to discuss a properly permitted installation.
Often yes. Local building departments typically offer expedited review for emergency repairs after a declared disaster. The fast track rewards homeowners with complete documentation and licensed contractors. A permit-free “quick fix” is the opposite of that. We pull permits and pass inspections.
Three checks: a written, itemized scope with named materials; licensure and insurance you can verify; and a physical presence you can call back. Ask which manufacturer brands they propose and why. A real contractor can show you multiple options at different price points.
The Bottom Line
Preparedness for a Miami Beach home is one system with two halves. The documentation package – elevation certificate, as-builts, permit history, product approvals, photographs – is what lets an insurance claim move. The physical hardening – shutters deployed and tested, roof penetrations inspected, garage door checked, drains cleared, generator wired properly – is what limits the damage in the first place. Build both before the season. Then, after the storm, triage before you call, document before you touch, and hire only licensed contractors. If you need help with any part of the system, call (844) 320-9310 for a free estimate.
Written by the team at Construction Miami Beach.