
Last updated November 16, 2026
 Driveway & pavers
 Kitchen remodeling
 Bathroom remodeling
 Home additions & ADU
 Roofing
 Windows & doors
 Fence
Free written scope consultation - allowances, timeline, and change-order rules on paper before a single trade is scheduled
Driveway & Pavers Maintenance Checklist for Miami Beach Homeowners
Most paver driveways in Miami Beach don’t fail because a car drove over them. They fail because the joint sand was specified for a climate that doesn’t exist here. A polymeric sand rated for northern freeze-thaw cycles will begin losing joint stability within about 18 months of Miami Beach’s humidity and rain cycle, and most installers never mention that when they hand you the warranty card. What follows is a maintenance checklist built around what actually breaks pavers in Miami Beach: rain volume, root pressure from tropical landscaping, mineral bloom on the surface, and flat lots that depend on grade rather than gravity. You’ll get inspection triggers tied to the local weather calendar, a way to tell salt-driven spalling from ordinary wear, and the specs worth asking for before any re-sand or repair.
Quick Answer
Paver driveways in Miami Beach need a joint-sand inspection twice a year, a full re-sand roughly every two to three years with a polymeric sand rated for high-rainfall climates, and a grade check before every hurricane season. Cleaning should happen before the wet season, not after. If joints are washing out faster than that, the problem is usually the sand spec or the base drainage, not the pavers themselves.
Styles & brands we work with
- Kitchen remodeling
- Bathroom remodeling
- Home additions & ADU
- Roofing
- Windows & doors
- Driveway & pavers
- Fence
Table of Contents
- The Miami Beach Paver Maintenance Calendar
- Choosing Polymeric Sand for South Florida Rainfall
- Salt-Driven Spalling vs. Surface Wear: How to Tell Them Apart
- Root Intrusion from Ficus, Sea Grape and Other Tropical Species
- Drainage and Grade: Why Flat Lots Need Active Checking
- Efflorescence: What It Is and How to Treat It After the Wet Season
- A Step-by-Step Inspection You Can Do Yourself
- Three Levels of Repair and What Each Involves
The Miami Beach Paver Maintenance Calendar
Paver care in Miami Beach runs on a two-season clock, not a four-season one. The wet season brings the rain that tests your joint sand, your drainage slope and your base. The dry stretch is when you fix what the wet season exposed. Maintenance scheduled against that rhythm costs less than maintenance scheduled after a failure.
Here’s how we’d map the year for a typical Miami Beach driveway:
- Late dry season, before hurricane season: walk the joints and top them off. Check that the driveway drains toward the street or a drain, not toward the house. Clear debris from any channel drain or swale.
- Start of the wet season: confirm the sand in the joints is still firm. Loose, sandy joints going into months of heavy rain will erode fast.
- Mid wet season: look for new low spots, sand trails leading to the street, and green film on shaded sections. Water ponding for more than a day after rain is a grade signal, not a cosmetic one.
- End of the wet season: treat efflorescence if it appeared, re-sand any joints that opened, and inspect for root heave near plantings.
That’s four touchpoints a year, and only one of them usually requires a contractor. The rest is a walk-around with a hose and a look at where the water ends up. Driveways that get this rhythm tend to stay tight for years. Driveways that don’t tend to develop wander, settle and joint loss in the first few wet seasons.
If your driveway is concrete under the pavers or you’re deciding between a new install and a repair, it’s worth understanding how the surface was built before you plan maintenance. Our driveway & pavers work covers both base construction and long-term repair, so the checklist you follow matches the assembly you actually have.
Choosing Polymeric Sand for South Florida Rainfall
Not all polymeric sand is built for the same climate, and the label rarely spells that out. Sand formulated for northern markets is designed around freeze-thaw movement. Sand formulated for high-rainfall, high-humidity climates is designed around water volume and biological growth. Those are different problems, and the wrong sand fails in a predictable way here.
What to look for when you or your contractor re-sand a Miami Beach driveway:
- Rainfall rating: ask whether the product is rated for climates with heavy annual rainfall. A sand that isn’t rated for high-volume rain will soften and wash out at the joints.
- Flexibility after cure: the cured joint should flex slightly under a fingernail. Brittle, glassy joints crack and then channel water into the base.
- Efflorescence risk: some polymeric sands are more prone to haze and bloom after curing. In a humid climate that haze can linger for months, so ask about the product’s efflorescence behavior.
- Application conditions: most polymeric sands need dry joints and a dry cure window. In Miami Beach, that means watching the forecast, not just the clock.
The failure pattern is consistent. A driveway sanded with a northern-spec product starts shedding sand into the street within a couple of wet seasons. Once water is moving through open joints, the bedding layer under the pavers starts to migrate, and the surface begins to settle in patches. By the time the homeowner notices the loose pavers, the repair has moved from re-sanding to re-setting base.
If you’re having pavers installed and haven’t discussed sand spec yet, ask the question directly. Our team works with paver and hardscape lines including Belgard, Unilock, Tremron, Techo-Bloc and Cambridge Pavers, and we can tell you which joint sand matches your surface and drainage rather than defaulting to whatever is on the shelf. The right spec at installation is far cheaper than fixing erosion two seasons later.
Salt-Driven Spalling vs. Surface Wear: How to Tell Them Apart
Spalling and wear look similar from standing height, and homeowners often treat them the same. They’re not. Surface wear is a gradual dulling and smoothing of the paver face. Spalling is the top layer of the paver flaking or popping off, exposing a rougher, more porous interior. In Miami Beach, moisture and dissolved minerals working through the paver are a common driver of spalling, and the repair for each problem is completely different.
How to tell them apart:
- Wear: the surface looks smoother or lighter where tires track, but the paver edge stays crisp and the joint line is intact. The color shift is even.
- Spalling: you can see a distinct step down where a layer of the face has lifted. The exposed interior is rougher than the surface. Flakes may collect along the joint. Damage clusters in the wettest or most trafficked spots rather than following tire lines.
If it’s wear, nothing structural is wrong. Cleaning and, if the color has faded, a penetrating sealer will bring the surface back. If it’s spalling, sealing over it will trap moisture and accelerate the damage. The paver needs to be replaced at the affected units, and the surrounding joints checked for water entry. On a small area, that’s a patch. On a larger one, the pattern of failure tells you whether the base is draining correctly or not.
We’ve seen enough Miami Beach driveways to say this plainly: spalling on a paver that’s only a few years old usually points to the paver’s absorption rate and how the joint sand is handling water, not to traffic. If you’re choosing pavers now, ask about water absorption and salt resistance before you pick a color. Our Construction Miami Beach team can walk you through products at different price points and explain which ones hold up to Miami Beach conditions rather than leaving you to guess from a showroom sample.
Root Intrusion from Ficus, Sea Grape and Other Tropical Species
The single most common cause of paver heave in Miami Beach that gets blamed on “bad installation” is a root that grew under the driveway while nobody was watching. Ficus hedges, sea grape and other broad-rooted tropical plantings send roots laterally toward moisture, and a paver driveway’s bedding layer is a moisture source. Roots find it.
What to check, and where:
- Look for heave, not just cracks. A root pushing up from below lifts pavers in a rounded bump. The joints over a root often stay tight while the surface tents up.
- Check the edges first. Root pressure usually enters at the driveway edge closest to a planting bed, then works inward. Edge heave is the early warning.
- Trace new settle spots back to a tree. A tree that has grown in size since the driveway went in is the most common source. If the planting predates the pavers, root barriers may already be in place; if not, they may never have been installed.
- Inspect after dry spells. During dry periods, roots search farther for moisture. New heave often shows up in the weeks after a dry stretch.
Remediation depends on how far the intrusion has gone. A single root lifting a few square feet can sometimes be cut back by an arborist and the affected bed reset. A network of roots under the driveway means a partial re-lay of the affected area, and the planting needs a root barrier at the same time or the problem returns. Full re-lay is the last resort, but it’s the right one when the base itself has been pushed off grade across a large area.
Our advice for Miami Beach homeowners: inspect the driveway edge closest to any hedge or tree twice a year, and if you’re planning new pavement near existing tropical planting, install a root barrier during the build. It’s cheaper than the re-lay, and it’s the difference between maintenance and reconstruction.
Drainage and Grade: Why Flat Lots Need Active Checking
Miami Beach is flat, which means your driveway doesn’t have slope to spare. Every paver surface should drain toward the street, a drainage channel, or a designated low point by design, not by accident. On a flat lot, small grade changes – a settled paver, an added planter, a new fence footing – can redirect water from the street to the house. That’s the failure nobody sees until it shows up inside.
A working drainage check looks like this:
- Hose test after any change. Run a hose on the driveway for a couple of minutes and watch where the water goes. It should leave the driveway, not pond on it.
- Check the joint at the garage slab. The pavers should sit at or slightly below the finished slab and drain away from it. Water pooling against a garage door or entry threshold is a grade signal.
- Look for sand trails. Sand lines leading off the driveway edge mean water is leaving through the joints instead of over the surface. That’s a joint sand issue with a drainage cause.
- Check channel drains and swales. Clear debris and confirm the drain is below the surrounding pavers. A clogged channel drain backs water onto the driveway surface and softens the joints.
- Watch the driveway edge at the street. In flat neighborhoods, the driveway-street transition decides everything downstream. A lip or a low spot at the apron sends water sideways into the yard.
If water is ponding on the driveway more than a day after rain, that’s not absorption, it’s grade. The fix is usually a targeted re-grade of the low section, not a full replacement. If water is reaching the house, treat it as urgent. That’s one of the few paver problems where we’d say call sooner rather than later, because the damage behind a wet wall is more expensive than the driveway repair. Call (844) 320-9310 and we’ll walk the grade with you. We answer 24/7. Fast dispatch from 7am to 7pm.
Efflorescence: What It Is and How to Treat It After the Wet Season
Efflorescence is the white, chalky film that can appear on paver surfaces after heavy rain. It’s not mold and it isn’t damage. It’s dissolved mineral salts migrating to the surface as water moves through the paver and evaporates. In Miami Beach’s humidity, efflorescence can persist for weeks or keep coming back if the underlying moisture problem isn’t addressed.
How to handle it:
- Confirm what you’re looking at. Efflorescence wipes off with a damp cloth and reappears after it dries. Biological growth is green or black and usually clusters in shade. The treatments don’t cross over.
- Brush, don’t power wash first. A stiff brush and clean water remove surface bloom. High-pressure washing can drive water into the paver and make the bloom return.
- Use an efflorescence-specific cleaner if it persists. These are formulated for mineral bloom, not for organic growth. Follow the dilution and dwell time on the label; over-strength application can etch the paver face.
- Address the moisture source. Efflorescence that returns every wet season usually means water is entering through the joint sand or the base. Re-sand the joints to spec and check the drainage slope.
- Wait for the dry stretch to seal. If you plan to seal, the paver needs to be dry through and through. Sealing a damp Miami Beach driveway traps moisture and turns a cosmetic bloom into a spalling problem.
One more thing: if the bloom is only on a few pavers and those pavers also show face flaking, treat it as spalling with a mineral signature and get it inspected before you clean and seal. The cleaner will improve the appearance for a season; the underlying issue won’t go away.
A Step-by-Step Inspection You Can Do Yourself
Twice a year is enough, and each pass takes about twenty minutes. Do one walk-through before hurricane season and one after the wet season. You’ll need a hose, a stiff brush, a screwdriver and a notebook to note the date and what you find, so the next pass has something to compare against.
- Walk the perimeter. Look for heave, missing pavers, and joint sand loss at the edges. Edge issues are the earliest warning and the cheapest to fix.
- Check every joint over the driveway. Sand should sit just below the paver face and feel firm under a screwdriver tip. Loose, sandy joints or joints with visible gaps need topping off or a full re-sand.
- Scan the surface for color change. A lighter patch, a stepped surface or a chalky film each points to a different cause (wear, spalling, efflorescence). Note the location.
- Run the hose test. Two minutes on the driveway, then watch. Water leaves, ponds, or sinks at the joints. All three tell you something.
- Look at the transitions. Garage slab, entry threshold, street apron, planter edges, fence footer line. Water problems show up at transitions first.
- Check the plantings. Any hedge or tree within ten feet of the driveway gets a look. Note new growth since the last inspection.
- Photograph the findings. Dates and photos make it easy to spot a trend, and they help your contractor quote the right scope from the start.
If you find one issue, note it and fix it before the next inspection. Two or more related issues – settled pavers plus sand washout plus ponding – usually point to a base or drainage problem and are worth a professional look.
Three Levels of Repair and What Each Involves
Paver repairs in Miami Beach fall into three buckets, and knowing which one you’re facing keeps a contractor from selling you the wrong one. It’s not a question of severity alone; each level addresses a different cause.
| Level | What’s involved | Typical trigger |
|---|---|---|
| Re-sand only | Clean joints to the spec depth, apply new polymeric sand rated for high-rainfall climates, cure properly | Joints opening or sand washing out, pavers still stable |
| Targeted reset or patching | Lift affected pavers, check and repair bedding layer, re-set, re-sand the area, match color and pattern | Heave from a root, settled patches, localized spalling, grade correction |
| Section re-lay | Remove pavers and bedding in the affected section, correct base, install new base and pavers, re-sand, check drainage slope | Root network under the surface, base failure, repeated settling after resets |
Most Miami Beach driveways live in the top two rows. Full re-lay is the exception, not the default, and it’s almost always the result of a problem that sat through multiple wet seasons. Estimates for all three are based on the written scope, and the estimate is what sets the final price – not a rough number over the phone. We’ll walk the driveway with you, show you which level applies, and quote the line items so you can see what each piece costs.
Common Mistakes to Avoid
- Using freeze-thaw-rated joint sand as your default. It’s what a lot of supply shelves stock, and it’s the wrong spec for Miami Beach humidity and rain volume. The joints soften and wash out within a couple of wet seasons.
- Sealing a driveway in the middle of the rainy season. Sealing damp pavers traps moisture and can push a cosmetic bloom into genuine spalling. Wait for a dry stretch in the dry season.
- Treating efflorescence as a mold problem. Antibiological washes don’t touch mineral bloom, and some can etch the paver face. Match the treatment to the stain.
- Power washing the joints every few months. High pressure drives water into the base and can remove the joint sand you’re trying to protect. A brush and a hose test do more.
- Ignoring edge heave near a new or growing ficus hedge. Edge heave is the cheapest warning you’ll get. It’s a reset now, a re-lay in a few years if the root keeps growing.
- Skipping the grade check on a flat lot. A driveway that looks fine can be draining into a garage threshold. Look at where water goes, not just where it pools.
- Assuming spalling means the pavers were bad. Sometimes it’s the moisture path, not the product. Getting the joint sand and drainage right is half the fix.
See the difference
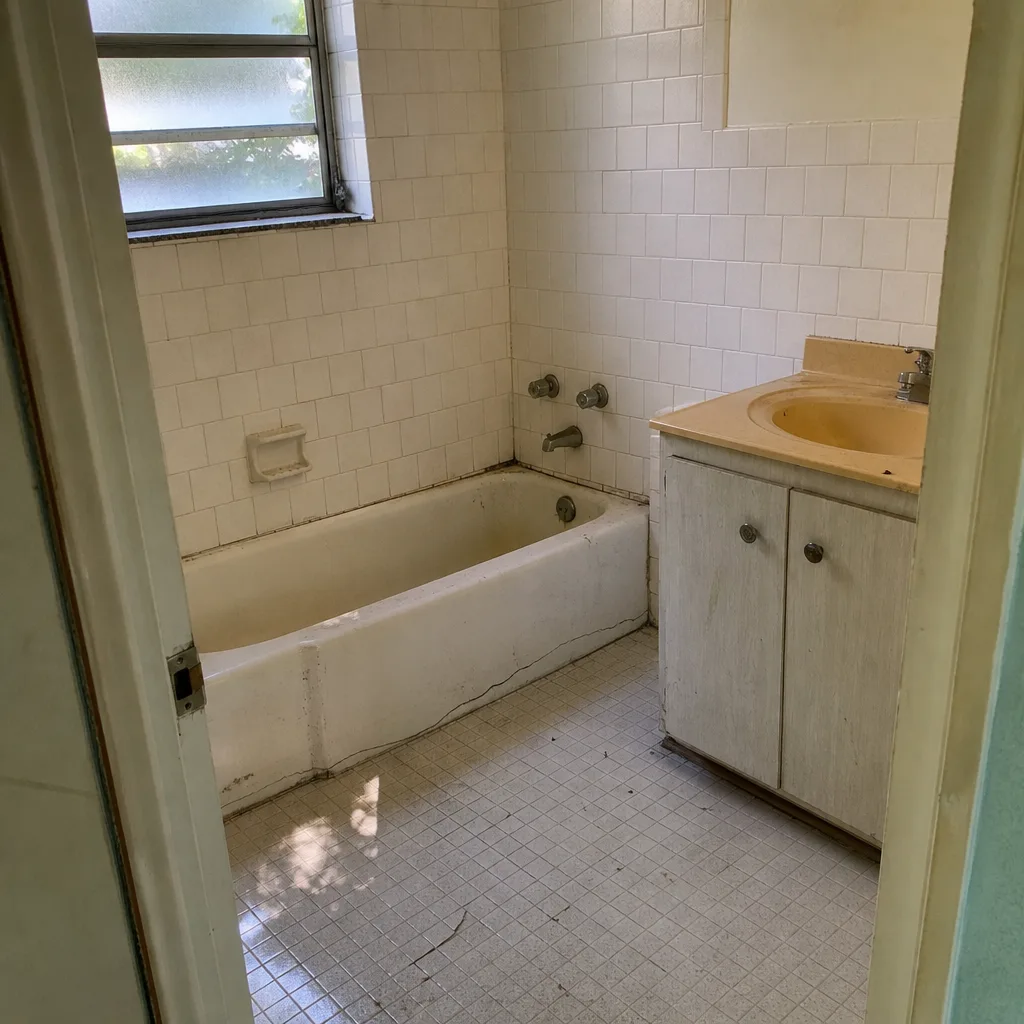 Before
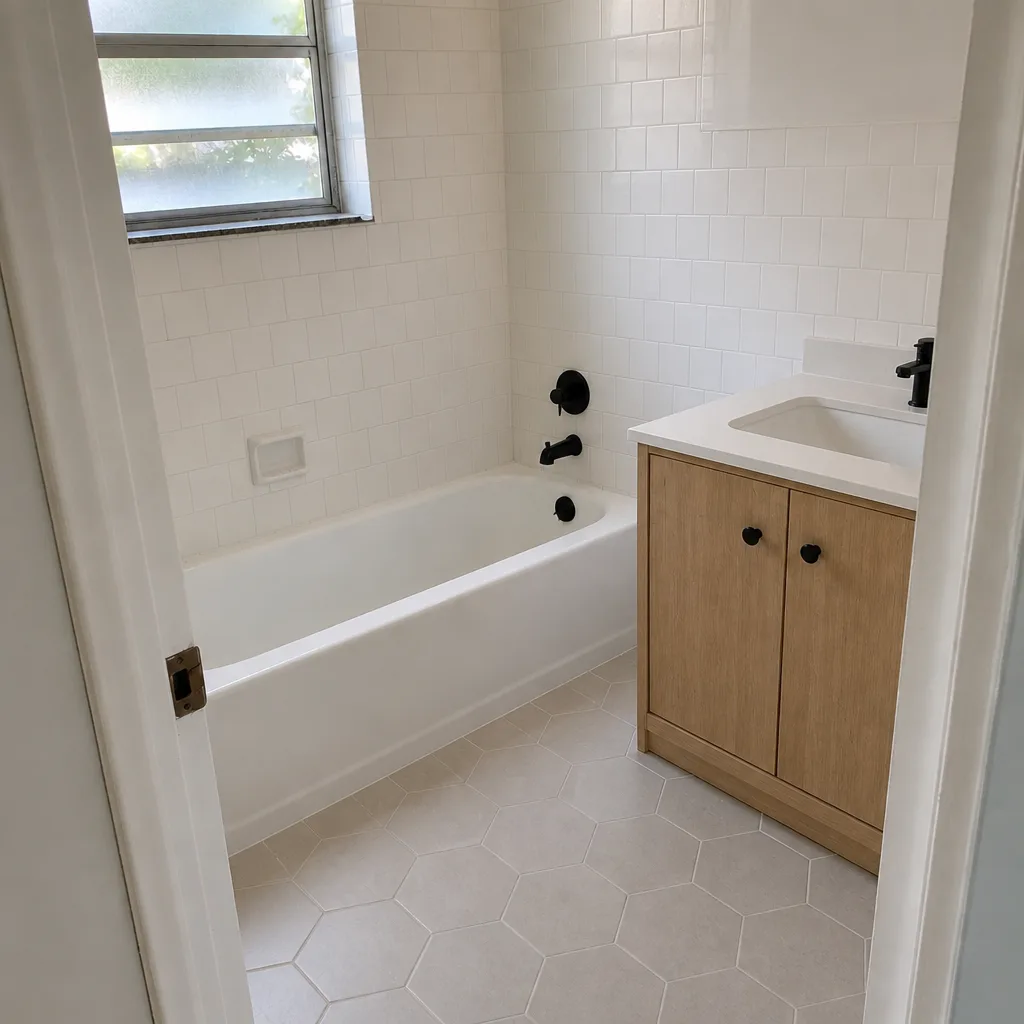 After
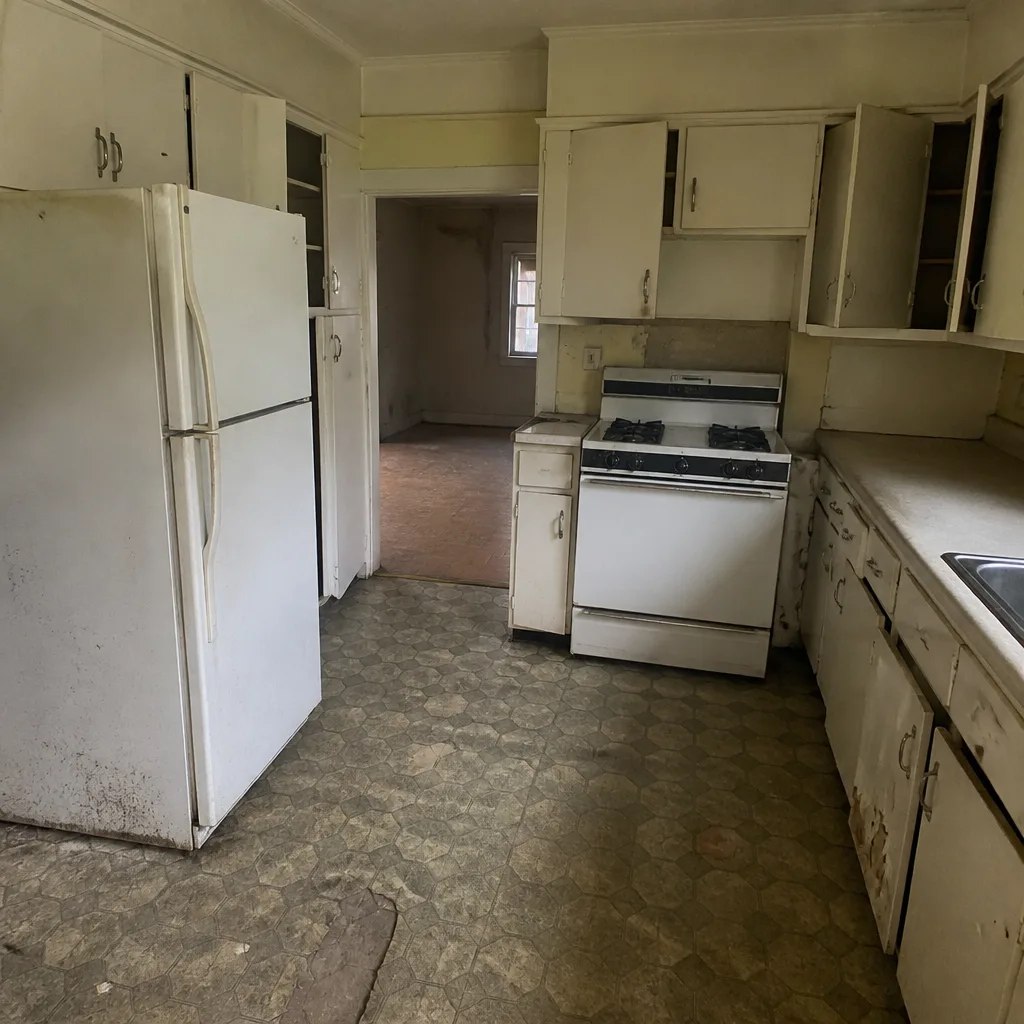 Before
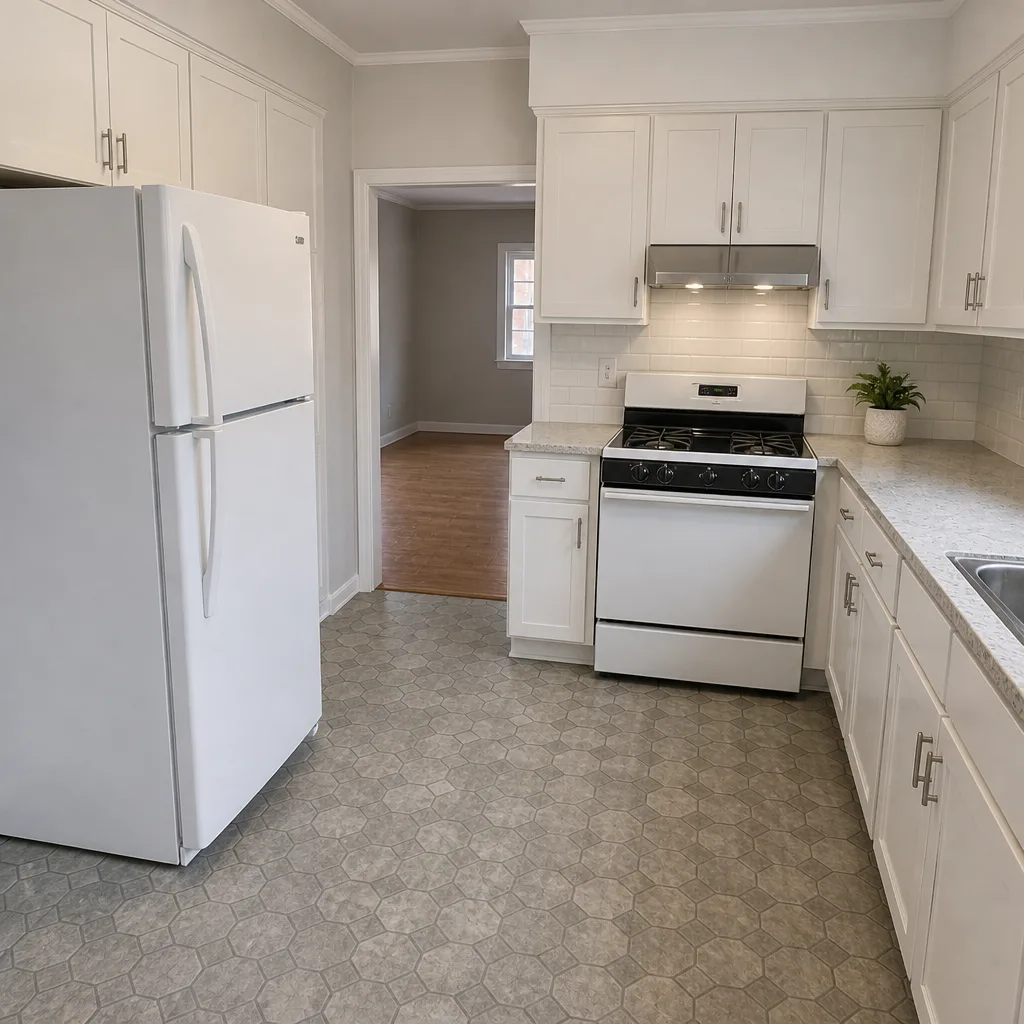 After
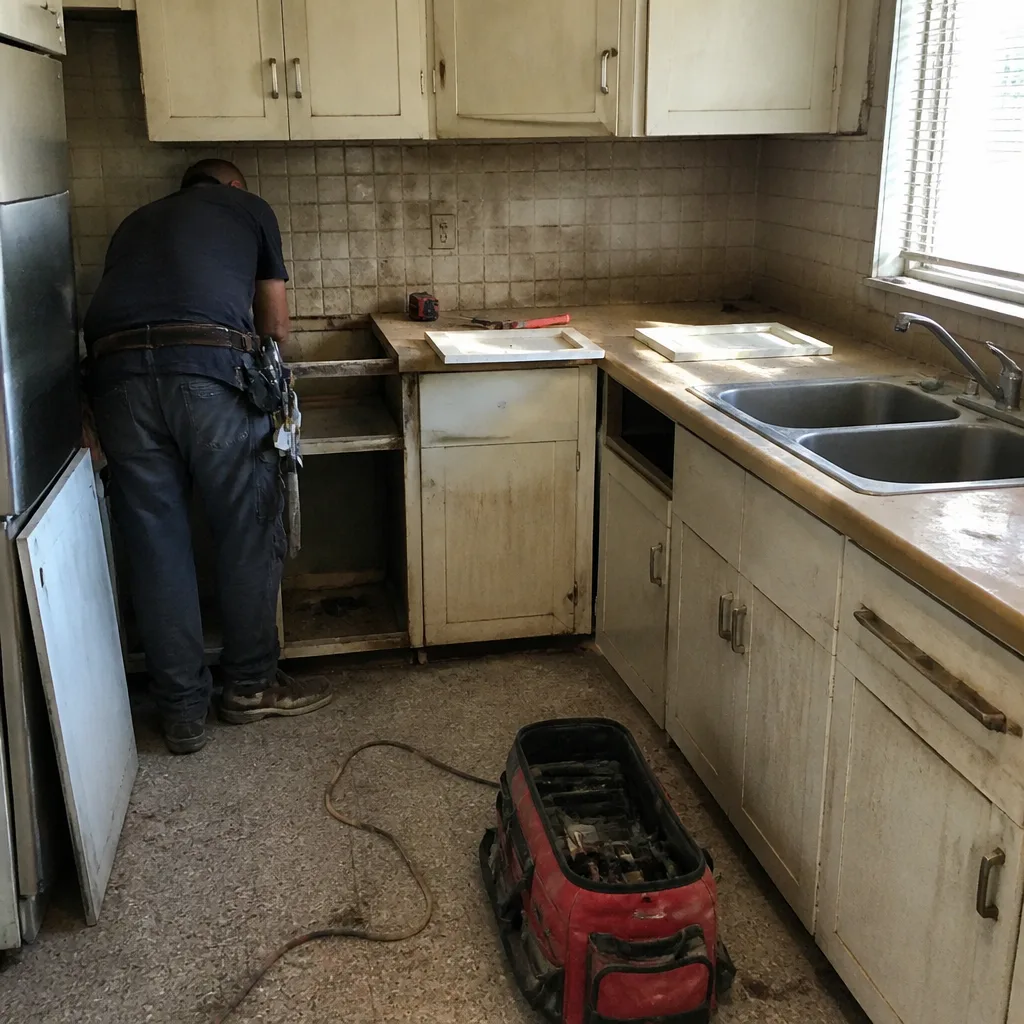 Before
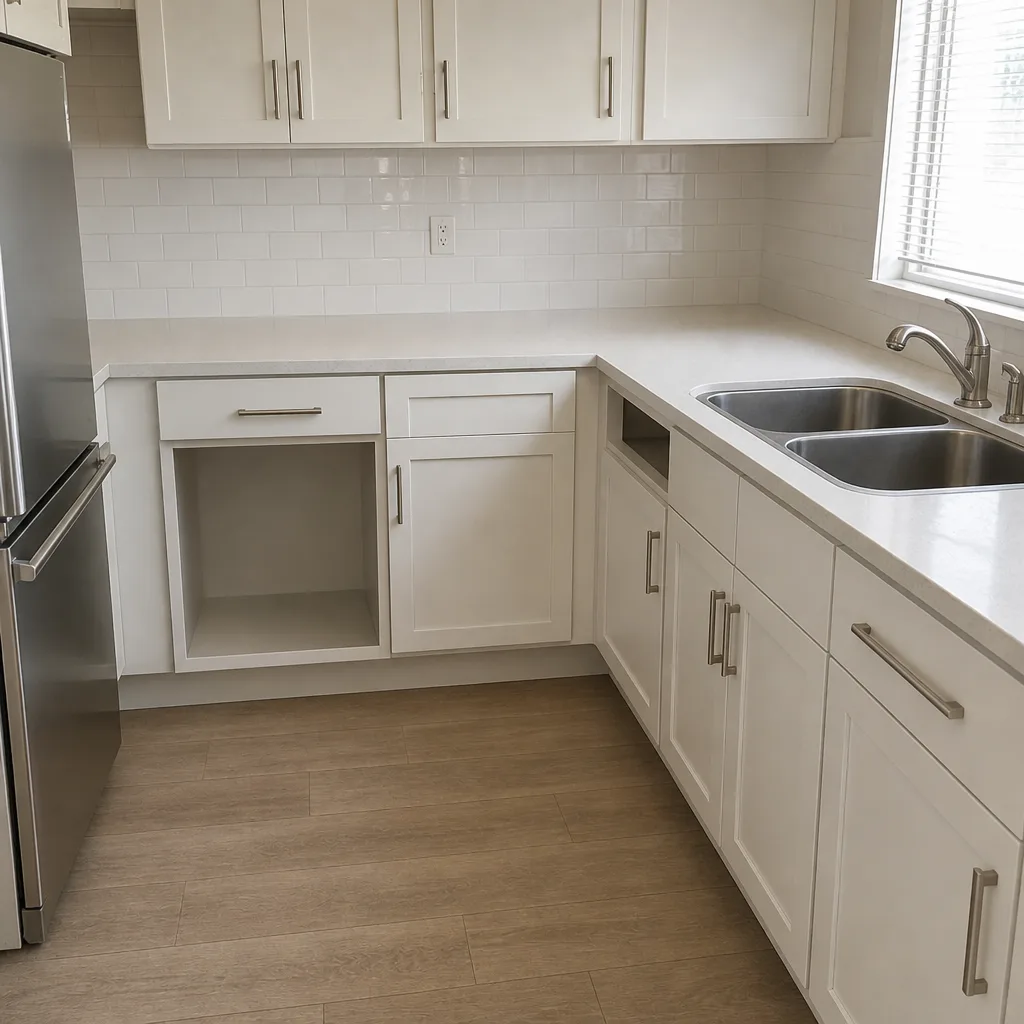 After
When to Call a Professional
Call us when water is reaching the house from the driveway side, when pavers have heaved or settled enough to be a trip hazard, or when joint sand is washing out within a single wet season despite a proper re-sand. Those three point to base, drainage or root problems that a brush and a bag of sand won’t solve. Call us before you have a repair scheduled and a section re-lay is on the table. Call us also before you re-sand a large driveway yourself if you’re unsure about the product spec; the wrong sand is the most common avoidable mistake we see in Miami Beach. And call if you’re planning pavers, a new driveway, or a hardscape change and want the drainage and root barriers designed in from the start rather than added later. Construction Miami Beach offers free estimates in Miami Beach – call (844) 320-9310. We answer 24/7. Fast dispatch from 7am to 7pm, Sunday through Friday.
Frequently Asked Questions
Plan on a full re-sand every two to three years with a polymeric sand rated for high-rainfall climates, and a light joint top-off twice a year in between. If joints are washing out faster than that, the sand spec or the drainage is wrong, and the fix is a base or drainage check rather than more sand. Call (844) 320-9310 for an exact quote on a re-sand – estimates are free.
White marks are usually efflorescence, which is dissolved mineral salts migrating to the surface as water moves through the paver and evaporates. It’s cosmetic, not damage, and it wipes off with a brush and clean water. If it returns every wet season, the joint sand or drainage slope needs attention. Call (844) 320-9310 if you’re not sure which it is – estimates are free.
You can, but low pressure only, and not on the joints. High-pressure washing drives water into the base and can strip joint sand, which is exactly the failure mode we’re trying to prevent. Brush cleaning plus a hose test is enough for routine maintenance. Call (844) 320-9310 if you want a professional clean and re-sand done together – estimates are free.
Wear smooths the paver face evenly and follows traffic lines. Spalling lifts and flakes the top layer, exposing a rougher interior and sometimes collecting flakes in the joints. Spalling needs the affected pavers replaced; sealing over it makes it worse. Call (844) 320-9310 for a walk-through on your Miami Beach driveway – estimates are free.
Not usually. A single root pushing up a small area can often be cut back and the affected bed reset, especially if the surrounding pavers are still tight. A network of roots under the surface is a different story and usually requires a section re-lay with a root barrier installed at the same time. Call (844) 320-9310 and we’ll scope it in a free estimate.
No. Sealing damp pavers traps moisture and can cause spalling, which is worse than the problem you’re trying to prevent. Wait for a dry stretch in the dry season and confirm the pavers are dry through, not just dry on the surface. Call (844) 320-9310 if you want a professional assessment before sealing – estimates are free.
The Bottom Line
Miami Beach paver driveways fail on the sand spec, the drainage grade and root pressure from tropical planting, in roughly that order. Get the polymeric sand right for high-rainfall climates, inspect the joints and the driveway edges twice a year, treat efflorescence as a moisture signal rather than a stain, and check the grade on a flat lot before the wet season. Those four habits turn a re-lay into a re-sand, and a re-sand into a walk-around. If you’re not sure which repair level your driveway needs, call (844) 320-9310. We answer 24/7. Fast dispatch from 7am to 7pm, Sunday through Friday. Estimates are free and the written scope sets the price. We work with paver lines including Belgard, Unilock, Tremron, Techo-Bloc and Cambridge Pavers, and our technicians have up to 14 years of experience.
Written by the team at Construction Miami Beach.